Collectibles / Red Gate Keys
Pragmata Red Gate Keys Guide
This page isolates the highest-confidence Red Gate Key facts in Pragmata: how many key sources are currently documented, which ones come from field pickups versus Cabin's Stamp Club boards, and how key flexibility changes the way you approach Red Zone cleanup.
9 documented key sources
Current launch-window key coverage supports nine total Red Gate Key sources across the game.
Current launch-window key coverage supports nine total Red Gate Key sources across the game.
4 field pickups
Shopping District, Eco Modeling Lab, Main Excavation Site, and the late-game Research Sector room each contain a field key.
Shopping District, Eco Modeling Lab, Main Excavation Site, and the late-game Research Sector room each contain a field key.
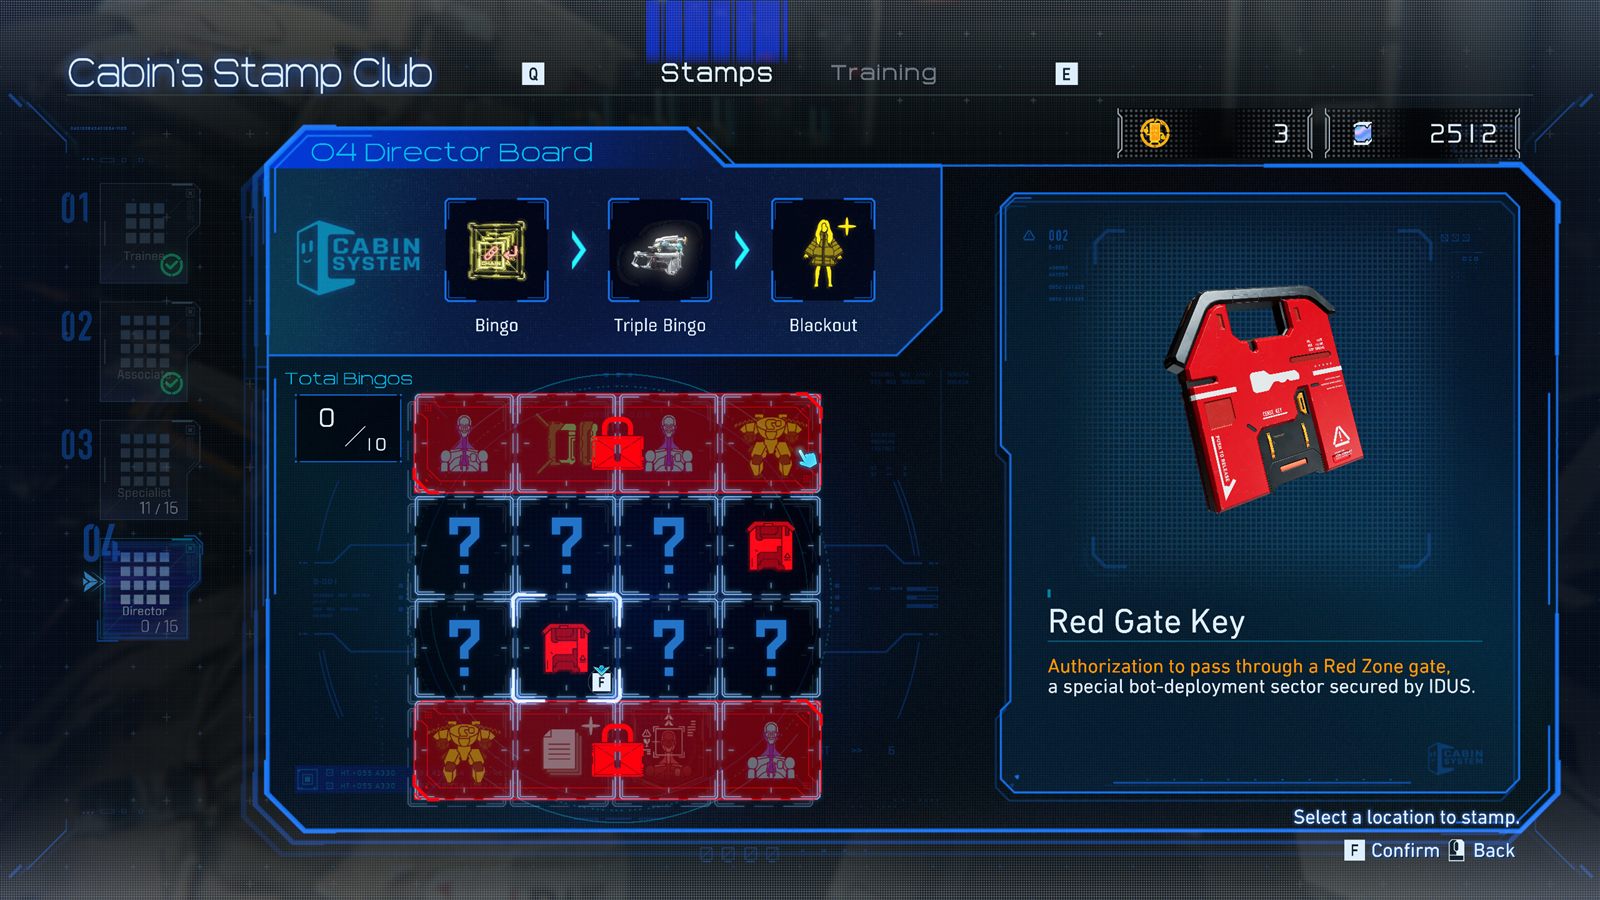
5 Stamp Club keys
The remaining keys come from Trainee, Associate, Specialist, and Director board slots at Cabin's Stamp Club.
The remaining keys come from Trainee, Associate, Specialist, and Director board slots at Cabin's Stamp Club.
Keys are universal
Any Red Gate Key can open any Red Zone, so inefficient spending is a routing problem, not a location-lock problem.
Any Red Gate Key can open any Red Zone, so inefficient spending is a routing problem, not a location-lock problem.